TUESDAY, DECEMBER 16, 2008

OK, before you get all over me about being in the "real" world, just give me a minute to explain ;-)

I bought a set of plans for the Joli boat from Philip Thiel. Unfortunately, this is not the right "season" in my life to really start building a boat. So, should I just wait and dream, or should I make some kind of forward progress?

My intent here is to keep a journal of my progress. I'll be using Google Sketchup to build my virtual boat. I'm sure that along the way I'll run across problems that need solving, trouble keeping on task, and moments of inspiration.

I'll include pictures and video as I progress. Click on any picture if you'd like to see it larger.

Maybe I'm crazy, but follow along and see what you think

Friday, March 27, 2009

What Was I Thinking!

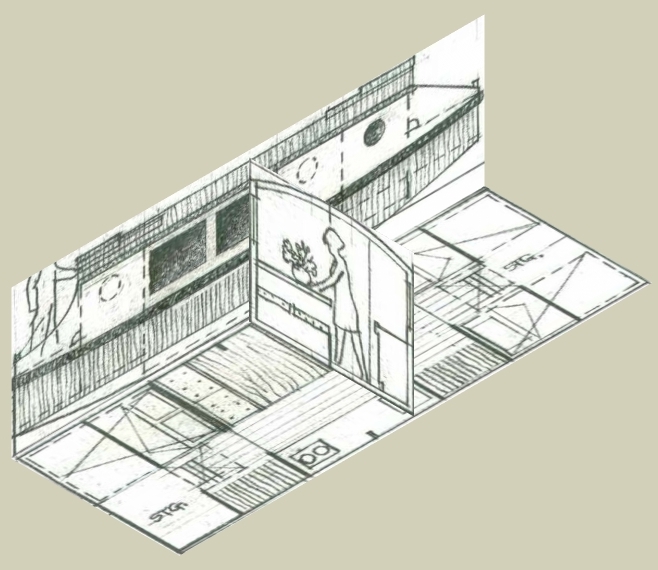
I’m pretty sure that more than just a few of you have been wondering about my hull shape for the Joli. Sure it would have a nice shape but things really got more complex than Philip Thiel ever intended. I think I’ve achieved enlightenment. It’s time to simplify again.

I know you’ve heard it here before but once again, “Boy I’m glad I haven’t cut any wood yet!” Just think about the money and time I’ve saved with this virtual build. At the current rate of money and time saved, I should be able to build a 50’ boat pretty soon ;-)

I’m still interested in curving the cabin sides in on the top and I think I’ll pursue the angled front and rear bulkheads for the cabin so access through the hatches is easier. It also seems like the front deck would be more useful if it were more like the rear cockpit with a floor and seat area. We’ll see.

It looks like spring is in the air in some places. Here in Central Oregon, we’re seeing some sun and warmer temperatures, (highs in the 40’s and 50’s), practically swimming weather. Time to get the O’Day Widgeon out and cleaned up. At the very least, I need to build a rudder for this boat. We lost it during a capsize a few summers ago.

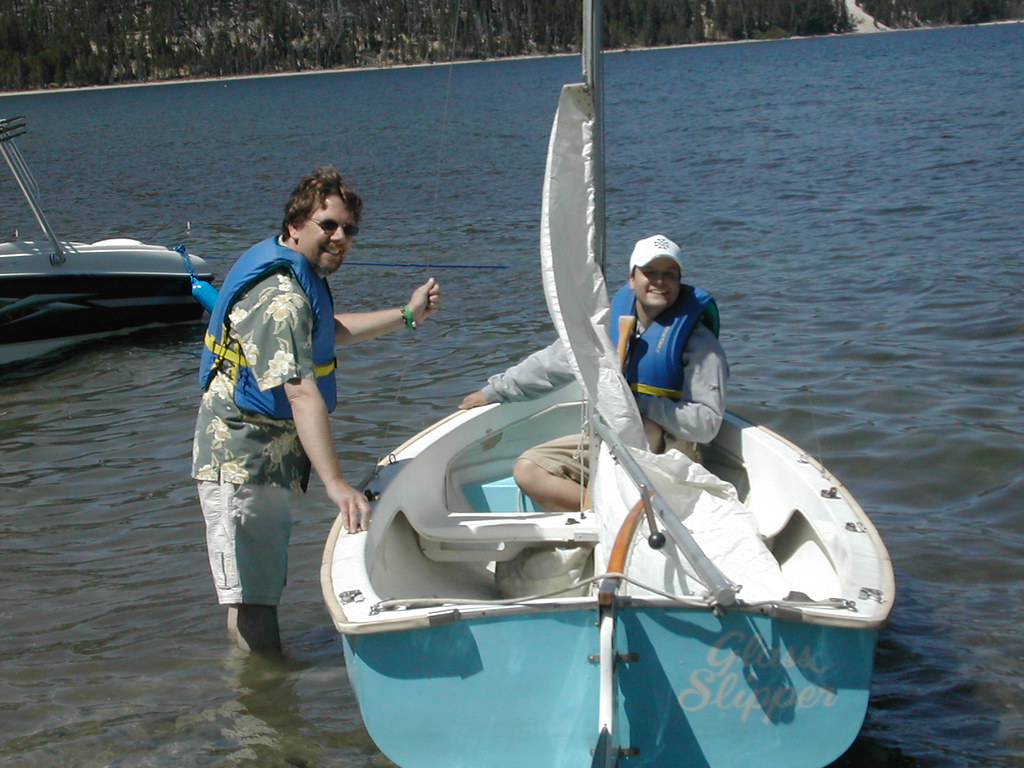
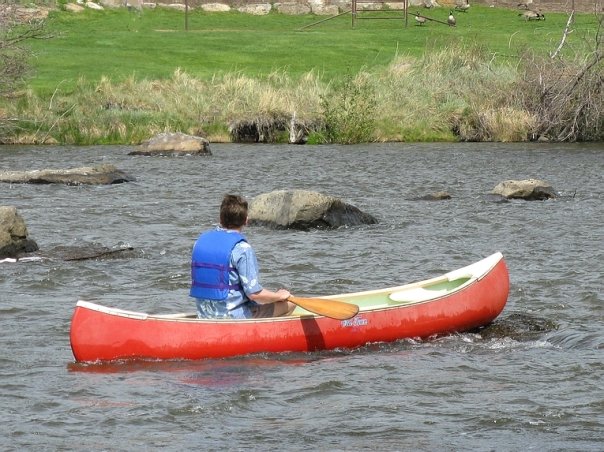
I’m also excited to get the canoes out again but I’m really kidding myself. We won’t have access to the majority of the lakes until some time after June 1st. Oh well.

Rumor has it that John Cockerham has got his Escargot, Gumbo in the water. See his post below. How exciting!

Gumbo finally got underway for the first time. I wasn't really ready yet, since the interior still needs some finish work and the wiring is not in. My mother (80) flew out and did all of the sewing on the cushions and curtains. She wanted to go for a ride in it and I couldn't refuse, so I had to sneak it down to a quiet ramp for an unofficial launch. The official launch will be when the boat is legal. I have been waiting for about two months for the Marine Patrol to inspect the hull to verify it is home built and assign a hull number so I can register it and be legal. An agent was supposed to come today, but since it's already after 5:00 I doubt he will make it. I love dealing with bureaucracy. The Nissan 6 HP with 25" shaft seems perfect, but since the motor is still in the break-in phase I didn't use over half-throttle.

John, Grand Bay, Alabama
Escargot #7 as close as I can tell.

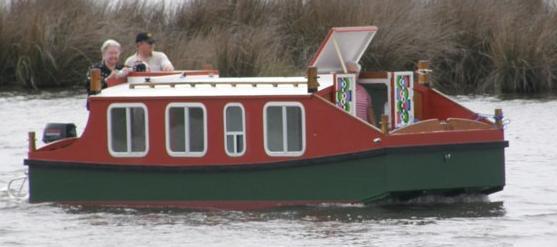
I’m looking forward to seeing more pictures of John’s boat in the water. Congratulations John, it looks like you’ve done an awesome job!

In closing, here’s a great video from Bryan Lowe featuring some trips on the Snohomish River in his Escargot. What an inspiration. Thanks Bryan, I needed that ;-)


Tuesday, March 17, 2009

Standard Minimums and a New Footprint

I decided to take another shot at a floor plan for my Joli based on some minimum standards that I’d like to have along with some features that I would really like to include.

Starting at the transom, I want to have an outboard hanging on a standard transom, but I want it covered behind and above the motor as well as separated from the cockpit. It looks like this length should be about 29.5 inches. This sets the positions for frames number 1 and 2.

I’d like a larger cockpit than the original Joli design, but I’m drawing it at 4 feet for now. The back wall of the cabin will be angled, or tipped forward on the top. I think this will look nice as well as making it easier to enter the cabin from the cockpit. This sets the position for frame number 3.

I decided to set the bunk lengths at 74 inches. A standard queen bed is 78 inches long and a standard twin bed is 74 inches long so I think this will work for my family. This sets the position for frame number 4.

Next comes the dinette and galley area. The dinette makes into a double bed, so we know the total length between frames 4 and 6 has to be 74 inches. Frame 5 should be exactly centered between 4 and 6. So now we’ve set the position of frames 4,5, and 6.

After the galley comes the closet and head. I thought I’d be generous here and have a head that is 4 feet long. Talk about luxury ;-) This sets the position for frame number 7.

Now we’re up to the forward bunks. They need to be 74 inches, so this sets the position for frame number 9. Since I’m drawing my Joli with a more conventional bow, Frame number 9 isn’t clear at the front.

Frame number 8 is the front of the cabin. This frame will also be angled, or tipped in at the top. Not only does this make it easier to enter the cabin from the forward cockpit, but it also makes a nice backrest if you’re reclining on the front seats of the forward cockpit.

I would also like a lower floor area in the center of the forward cockpit. This makes it more useful for a sitting area and makes it easier to step down into the cabin. I ended up with a forward cockpit that is roughly 57 inches long. The sets the position for frame number 8.

Larger Video

We also need to talk about some standard minimum widths. A standard queen bed is 60 inches wide. I’m sorry, but I don’t think we can be that generous in our boats. I’ve set the width of the double bunk in the rear at 48 inches. I hope we can live with this.

I’ve set the minimum companionway and hatch width at 24 inches. Narrow but functional. If the dinette makes into a double bed, it should also be 48 inches wide. If you add 24 inches for the companionway and subtract the width of the frames, you end up with a galley counter that is 17 inches deep. Our vintage camp trailer has a kitchen counter that is 22 inches deep, but I guess an 8 foot wide boat only leaves me with a 17 inch counter. Oh well.

Now if we use the same logic for the forward bunks, 24 inch companionway in the middle and 2 frames at 3.5 inches, we end up with single bunks that are 32.5 inches wide. A standard single bed is 38 inches wide, so things are just somewhat tighter on a boat. So goes it.

Well, now that I’ve set some standards and defined my frame locations, I can start placing some bunks, seats, toilet, motors, and all the other stuff that needs to fit in my boat.

Oh yea, if you’re wondering, my Joli ended up at 27 feet long.

Saturday, March 14, 2009

Links of Thought

As I promised last time, I intend to spend a little time sharing some internet links that I’ve found; interesting, useful and sometimes, “just plain entertaining”.

But first I want to talk about my new boat design. The shape is a little odd but I think I can make it work. It’s 24’ long by 12.5’ wide. It’s about 14’ tall at the peak and the hull is made from 8” thick concrete. Doesn’t sound like a winner does it ;-)

Actually, I’ve just described my garage/boat shop. Problem is, it may need to become an apartment. You see, our oldest daughter has come back to the roost, and she has 4 children with her. Not exactly what any of us dreamed about but none the less, so it is.

Our home is only 950 sq ft and it’s feeling a little crowded with 9 people. Sure, some of those people are still pretty small but we’re running out of room.

I had the guys at work do a little drawing for me to see how we could make the garage functional as a living space. I’m not totally satisfied with their initial thoughts and I think we’ll need to think outside the box here a little.

The garage/apartment is in the lower left of the image above. You may recognize it from some of my original shop drawings on this web site.

If you think of the garage as a boat, it seems fairly roomy. I’ve been playing around with a few different ideas. We’re not sure what is happening next and for now we’re taking it a day at a time. I’ll let you know if I go further with this apartment design.

So, let’s talk about web sites. The time on the web has really been great for me during these recent times of feeling like the boat building dream is fading away.

First on the list has to be one of my personal favorites because it has been such an inspiration to me. Bryan Lowe shared his journal on-line of his experience while building an Escargot boat designed by Philip Thiel. This is a must read for anyone contemplating a boat build. Good Stuff!


Bryan has continued in the shanty boat world with a new site. Here he shares all things shanty. Keep an eye on this one!


Bryan is also the moderator for the shanty boat yahoo group. This is a great place to exchange ideas with like minded individuals.


Another great place to follow along as someone builds an Escargot is John Cockerham’s web site. It’s so awesome to see his detailed pictures and his notes about progress. He’s very close to launch day!


How about, “Build a boat, have an adventure!” It’s pretty hard to beat this down to earth, full of info web site. I’m talking of course about DuckWorks Magazine.


Want to follow along as someone makes the move toward being a full time live aboard? Greg deals with many of the day to day practical aspects of making it possible on a 24’ sailboat.


Let’s talk shanty boats here. Paul Browne designed a wonderful little trailerable shanty boat called the Lisa B. Good. Paul has since passed away but there appears to be a new interest in this simple boat. There’s not much left on Paul’s original web site but I’ve also included a link to the full set of text and drawings, compliments of DuckWorks.

Lisa B. Good Plans

The list of shanty boat sites wouldn’t be complete without mentioning Sam Devlin’s Millie Hill. Sam designs some really beautiful, traditional boats using the stitch and glue method. He’s a great guy to talk to, and his book on boat building is awesome also. The Millie Hill has been slightly redesigned and improved. Here’s a site well worth looking into.


I’m sure you understand that this list is far from complete. We’re so lucky to have so much information at our finger tips. This is just a list to get you started and to keep you dreaming!

I’ve started over on my Joli floor plan. There were several things that ended up too tight or not really workable. Stay tuned!